Creating high-quality videos at home requires a minimal amount of equipment. Even beginners can create professional-looking videos. In this ultimate beginner’s guide, we’ll take a look at planning your video, gathering your equipment, appearing on camera, and creating the final cut of your content to evaluate the quality of your video and distribute it online.
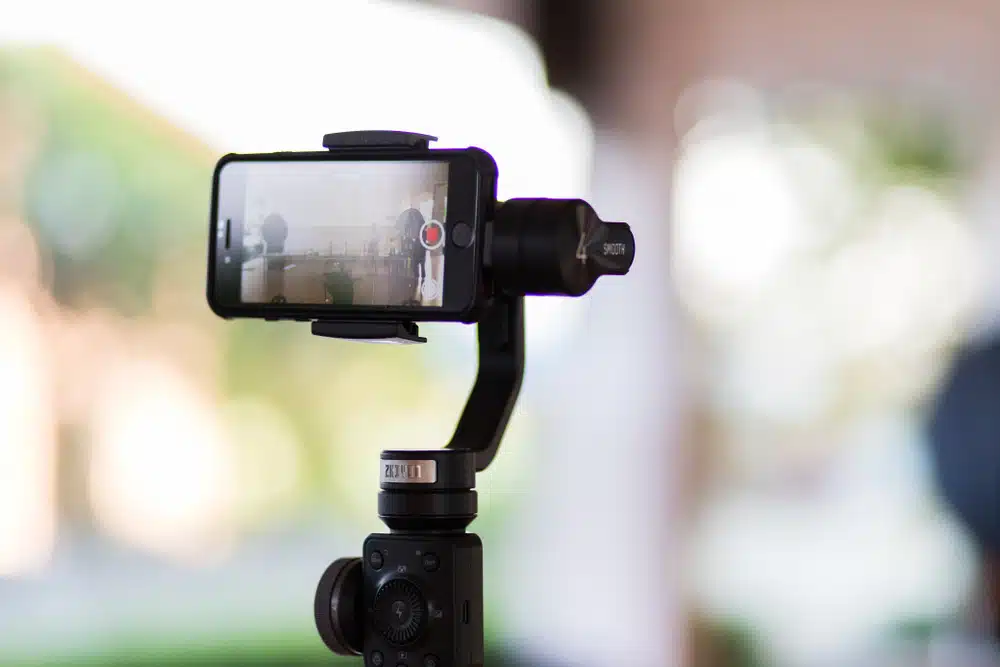
If you have an iPhone or another smartphone device that you might already use for business and marketing, you’re well on your way to having what you need to create your own YouTube channel and engage in video creation.
Table of Contents
- Start With the Basics of Video Production
- Acquire Basic Studio Equipment: Lavalier, Webcam
- View Tutorials For Your Video Editing Software of Choice
- Record an Intro to Your Channel
- Embrace the Post-Production and Editing Process
- Post to Social Media and Distribute
Start With the Basics of Video Production
New video creators should keep it simple. You don’t need a filmmaking course to create good videos. Your videos can develop a professional look over time, and you can start with these simple tips to create great videos for your target audience, step-by-step.
The most important thing about your videos is the quality of content: that is, what you’re making videos about. Fancy transitions, the rule of thirds, using a teleprompter, and creating an advanced storyboard are techniques that can help you down the road, but to start, the best pro tip is to consider where you’ll put your video (YouTube videos, TikTok, etc.) and what types of videos you’d like to create.
Acquire Basic Studio Equipment: Lavalier and Webcam
To start, you’ll need some basic equipment: a camera and a microphone. The most inexpensive way to get started is to use a basic webcam (if you’re sitting in front of a computer) or your smartphone, in addition to an attachable lavalier mic. A lavalier mic pins to your collar and provides audio input directly to the recording device. (This is also useful if you’d like to make a podcast version, in which a reduction of background noise and higher audio quality matters more.) A high-quality microphone is a must if you’re focused on sound quality, voiceover, or video podcasting.
You can also consider a ring light (pay attention to your natural lighting and other light sources you might have in the room where you’ll record), a green screen or printed background, and anything else you can physically place to help with your video look. You can get most of what you need for under $200. However, if you already own a DSLR video camera, it’s worth using, even for your home videos.
View Tutorials For Your Video Editing Software of Choice
The video editing program you choose is important to the quality of your video is the video editing program you choose. You’ll want to pick a user-friendly video editor, such as iMovie. A good video editor will act like your videographer in post: that is, it will help you with stabilization, brightening, and more. Again, stick to the basics when you start. Focus on creating content, and don’t burn out on video editing.
Record an Intro to Your Channel
Whether you’re posting on your website, YouTube, Instagram, or TikTok, your channel should have an introductory video. Describe who you are and what subject matter you discuss on your channel, and let people know where they can contact you to provide feedback. This free video should be search engine optimized (SEO), meaning people can find it by looking up the words in your video. This is an essential part of inbound video marketing.
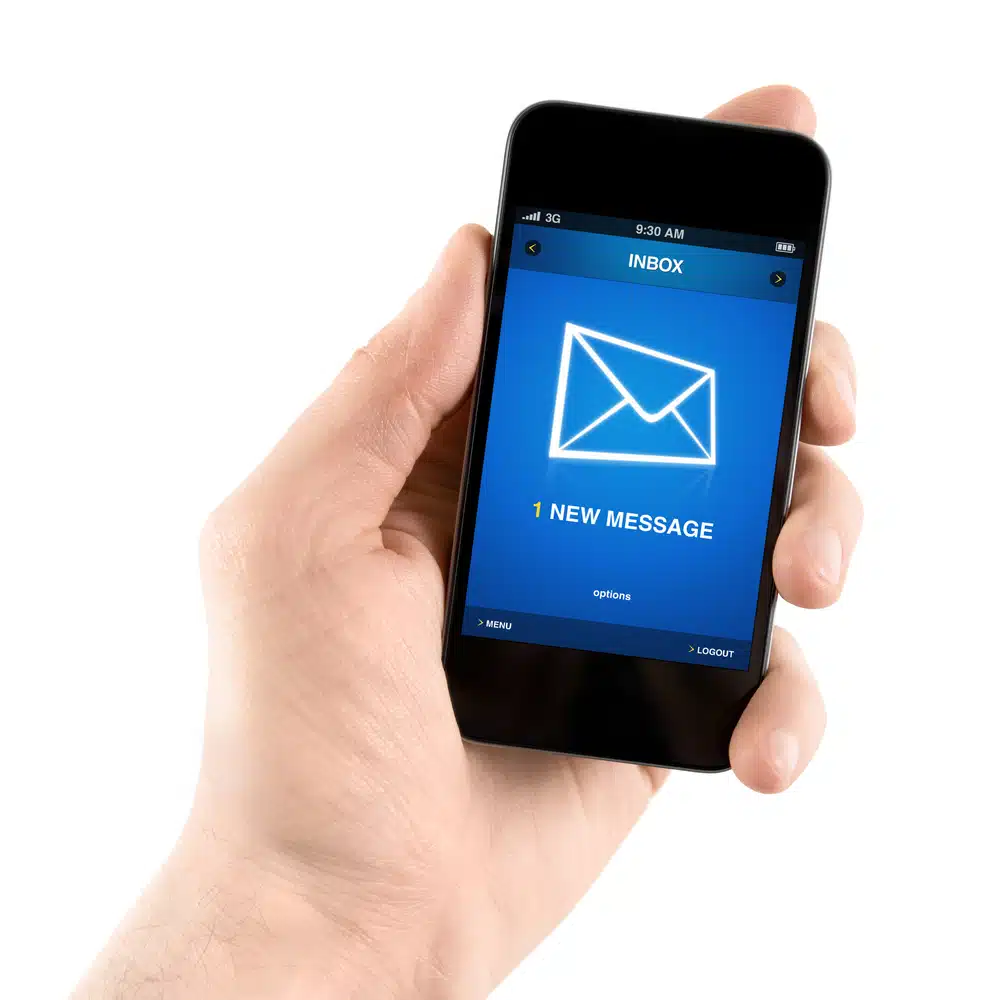
Your intro and other video will pop up if you have a phone number as a means of contact — make sure people know how to find you for more information!
Embrace the Post-Production and Editing Process
When it comes time to edit the video using your software, focus on the clarity of the message of your online video. Cut information that doesn’t add value to the video or anything that detracts from the message. Sometimes, you won’t notice this until after the production is complete.
Post to Social Media and Distribute
Once your video is complete, it’s time to distribute it on social media. Resist the urge to put a YouTube link on platforms like Facebook and LinkedIn — they punish links coming from outside sources. Instead, upload the video natively to that platform. Include a solid description that matches the topic of the video. Once your traffic grows, you can even handle incoming inquiries with SMS software — so you can have your fans text you!
Using analytics from your existing pages, determine the best date and time to post your video. Facebook analytics, for example, will tell you when your audience is online and most likely to view your page. Schedule and post — be proud of your first video!